πŸ›  These Software Development Tools Will Blow Your Mind

Photo by Ben White on Unsplash

For my final post of 2019, I thought I would deal with some serious FOMO1 by adding one of my own to the legions of year-end listicles adorned by clickbait headlines. You will not believe what's at number four! Nevermore shall I lament having passed up the opportunity to proffer a subjective collection of arbitrary length for your attention. Of what engrossing subject shall this list be? Life achievements? 11 places to visit before you die? Things I have discovered when looking for other things that I have lost? Nay, it shall be tools! Tools, I say. To be specific, development tools for it is tools of software development that I use often. To be even more specific, this is a list of development tools for each of which I could write an additional list of killer features, extensions, and magical whosywotsits. I present to you a list of feature packed fancies for fruitful software fabrication. How many tools? Read on to find out2.
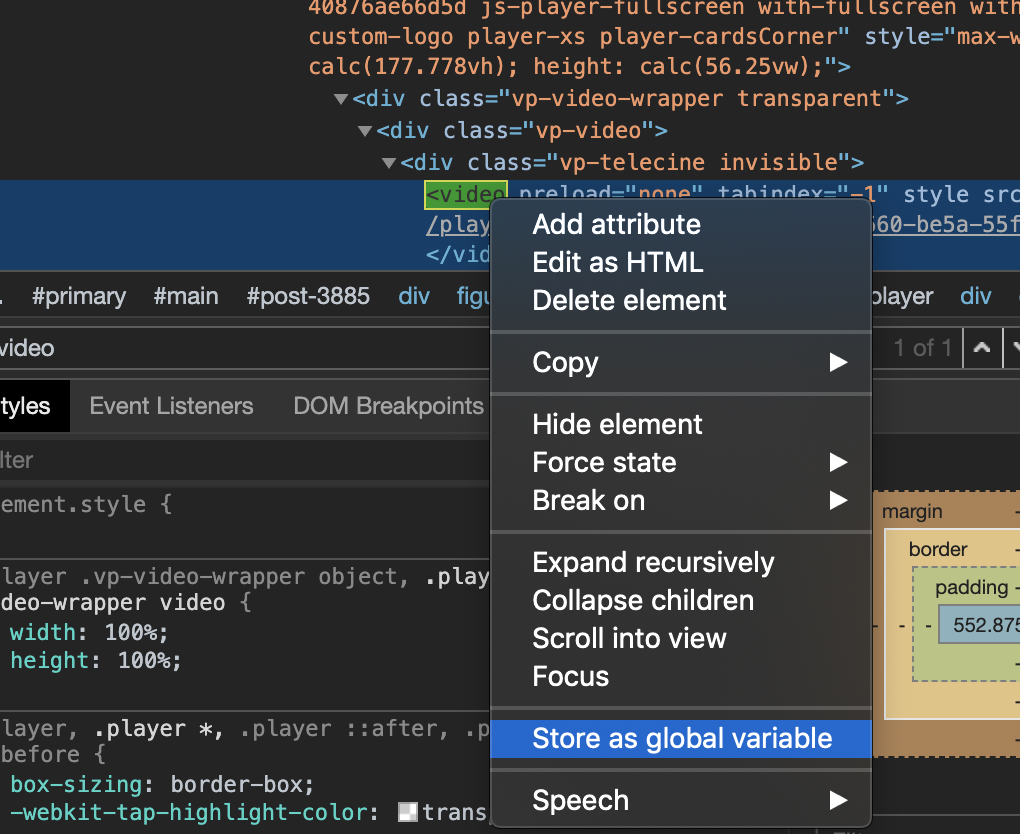
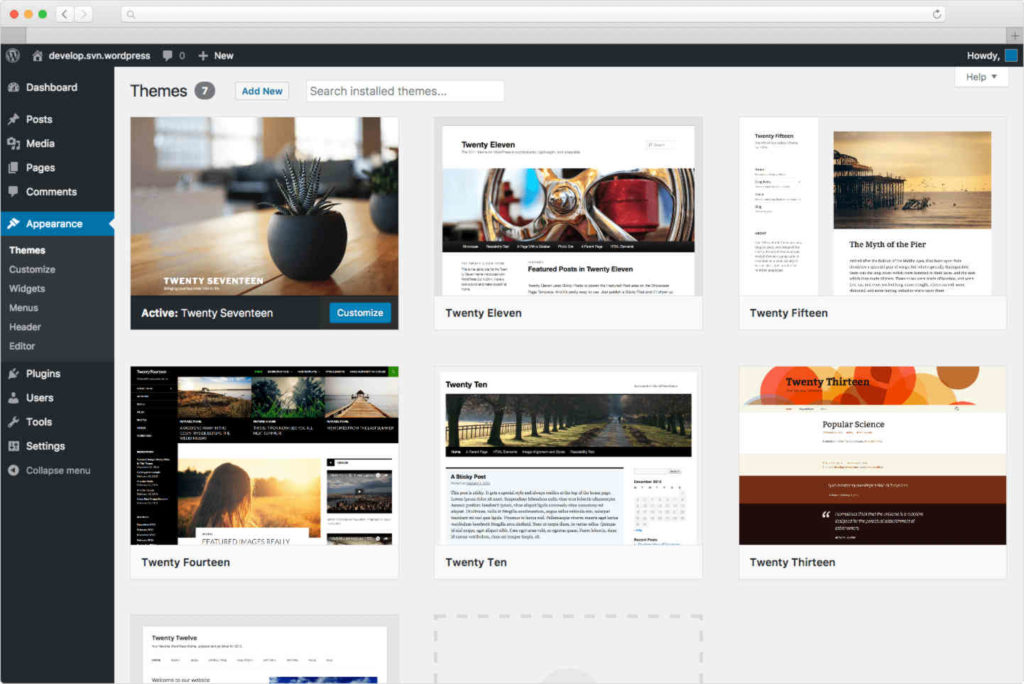
Visual Studio Code
code.visualstudio.com

A screenshot of the Visual Studio Code environment, showing the Extensions Marketplace on the left and a JavaScript file being edited on the right, below which is shown a terminal panel indicating code has been successfully compiled. The editor is also showing an autocomplete list of possible syntax to insert. The bottom of the screen is a status bar showing additional information about the currently opened files.

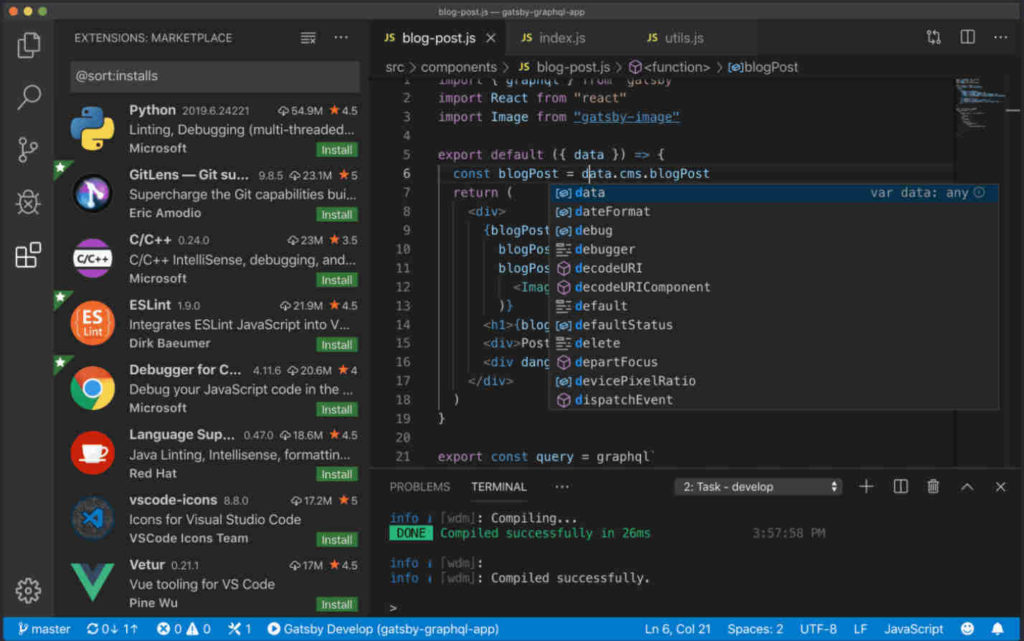
This open source, cross platform, integrated development environment (IDE) backed by Microsoft really is the best I have used so far. With its built-in terminal, text editor, and task engine, it really is an integrated environment where, if it weren't for Slack and my web browser, I would spend all of my software crafting days. In fact, if I liked the extensions that integrated Slack and web browsing into Visual Studio Code, I could use it or them too; but I don't, so I don't.

Unlike IDE's of old, Visual Studio Code – often referred to as just VS Code or Code (it's command line invocation is the delightful code the-file-I-want-to-edit.js), is implemented to avoid having opinions about the code you write. Instead, it is written to support your code dictating how you write code so that you can deftly move between projects without worrying that the settings for one team will somehow traipse all over the settings for another.

If you like vim-style editors, there's a vim emulator. If you don't like the menus, use Zen Mode or go fullscreen. Want to run tests integrated in the sidebar or the test file itself? Do that. Want to run them from a terminal or via a background task? Do that instead. I could (and probably will) write a whole new list on the best extensions to use with Visual Studio Code. It is versatile enough that I believe any developer could make it the editor they need.

Why it is great for software developers?

Either natively or via an extension, Visual Studio Code supports just about every aspect of the software development lifecycle you might encounter, on every platform that likely matters (Windows, macOS, and Linux), using any workflow that suits you. Not to mention it gets feature updates monthly and is supported by a huge community of users. It takes a little DNA from editors like Atom, Sublime, and your basic text editor, and elevates them to something, well, sublimer3.

WordPress
wordpress.org

A screenshot of a web browser showing the WordPress admin screen for choosing a theme, with several themes previewed in a grid.

When concentrating on software development tools, it is really easy for me to overlook this one – probably because it is not a software development tool, at least not from first impressions. I use WordPress for this blog; I always have. There are many alternatives out there; some more technically involved than others. I know I could use markdown in a GitHub repository; I have heard of Jekyll and Gatsby and so many other ways to generate a site; I know about Medium, but for me, WordPress wins because it has the features I need, including wide support for hosting, accessibility, themes, plugins, and autonomy from the whimsy and money-grabbing aggregation platforms like Medium.

The recent updates to the core editing experience, known as Gutenberg, have been amazing and the regular updates that are auto-applied without me raising a finger keep adding polish to an already awesome experience. I can schedule posts, manage comments, and use plugins to add syntax highlighting, footnotes, multi-factor authentication, backups, and spam filtering, to name just a few. Just as with Visual Studio Code extensions, I could write another list of plugins that I love for WordPress.

35% of the web uses WordPress, from hobby blogs to the biggest news sites online.

https://wordpress.org/

WordPress is used by over a third of the web. A third! That includes this blog, almost every site that Ann Arbor Give Camp has worked on in the past few years, and rollingstone.com! If you are considering putting together any kind of website, whether a blog, or something else, I highly recommend this freely available platform that has more versatility than Meryl Streep.

Why it is great for software developers?

As I mentioned earlier, WordPress seems entirely unrelated to software development (unless you are writing themes and plugins for WordPress4). However, I have learned that writing a blog about ones technical exploits is an absolutely amazing software development tool. I never realised how much I could learn just by trying to teach someone else. I used to think a blog was about its readers and being right; I have come to learn that a blog is merely its writer, being. The act of writing a blog is where its value lies. Writing this blog identifies gaps in my knowledge, personal biases, and more. It can shine a light on my laziness, focus the my mind on a gnarly problem, and provide a scaffold from which to hang my personal growth. There are numerous times where writing posts for this blog (including some I never published) has helped me become a better software engineer. The fact that sometimes, someone reads it and finds it useful, entertaining, or infuriating is really just a bonus.

Write a blog. Hold an opinion. It is worth it.

GitHub
github.com

A screenshot of the GitHub organization's page on GitHub. The screen shows the GitHub logo (the octocat) and information including geographical location, URL, contact email, and several tabs giving more information about the organization's repositories, packages, people, and projects. The repositories tab is selected.

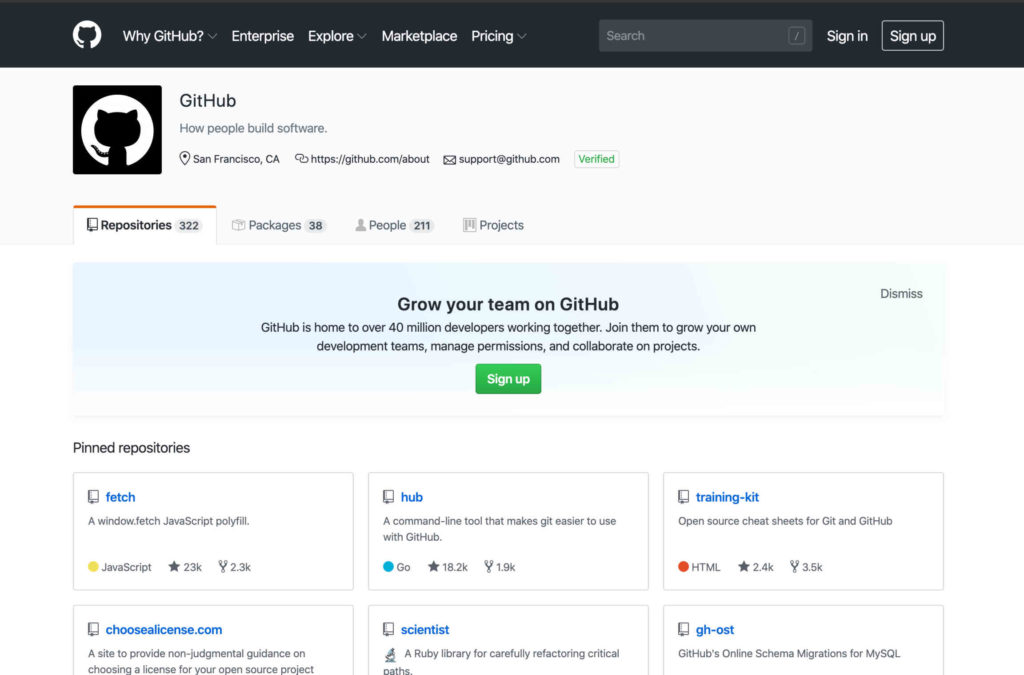
For some readers, this may seem a pointless entry. Using GitHub for collaborative software development is so incredibly common that suggesting folks should use it seems a bit like suggesting folks should try breathing air5. Though there are alternatives such as GitLab, GitKracken6, or BitBucket, GitHub is almost ubiquitous. I do not recall an open source project that I have interacted with recently that was not hosted on GitHub7. With the recent changes allowing private and public repositories for personal accounts, the addition of GitHub Actions for automating all kinds of workflows – free to open source, and some great improvements to code review that have been released or are in beta, GitHub is an absolutely fantastic tool for those developing software. Add to that the integrations with other tools that I use like Visual Studio Code, Slack, and third-party issue trackers such as Jira, and GitHub shines. Many feared that its acquisition by Microsoft would doom it to failure, yet the Microsoft of today is a wonderful curator of open source goodies, and it seems that we all get to reap the benefits.

Why it is great for software developers?

Free backup of your source code, code reviews, automated workflows, and more, all on a tried and tested platform with a huge community. Not only that, but if you want, you get to collaborate, build, and present work with that community8.

πŸ€·πŸ»β€β™‚οΈ That's it…

I don't know about you, but lists are exhausting. I've only written about three things and I'm already done with everything and ready for a lie down. I do stand by this list though. I really thought about what to put on it, considering the various tools I have used, not only because I have to, but because I want to. I would choose these tools from the very start of a new project unlike some others I use that, while I like them, are specific to a technology (such as React Developer Tools), are only what I use because the circumstances call for it, or are not really that standout against alternatives that I could be using.

Of course, this is all my personal opinion drawn from my personal experience; you have absolutely no obligation to agree with me. In fact, you have every right to use anything but the things I mentioned above, remaining in your state of willful ignorance, knowing you are wrong, unwilling to accept the truth as a way of life 😈. Just kidding, these are development tools, not religions – what works for you, works for you. These work for me. Perhaps you agree and want to pat me on the back from my excellent choices, maybe you care to tell me your preferred alternatives or shout at me about mine, or perhaps you read the footnotes and really have something to say about privilege, toxicity, and portfolios – feel free to engage in the comments; let's talk πŸ€—.

And with that, I bid you well until the πŸŽ†New Year and all the productive software shenanigans that await us in 2020. πŸ™‡πŸ»β€β™‚οΈ

  1. Fear Of Missing Out – a most annoying acronym, I find; why? no idea []
  2. it's three, three tools []
  3. don't you roll your eyes at me []
  4. PHP? Ew! []
  5. you really should, it is to die for []
  6. mention-worthy, if only for the pun []
  7. before GitHub, it was SourceForge, before the DevShare debacle – https://en.wikipedia.org/wiki/SourceForge []
  8. Side Note: I think it is perfectly fine not to have a portfolio; some of the best developers I know do not have any public source, or fancy stuff to show off. This weird obsession some folks have with portfolios feels like another toxic manifestation of privilege in the software development world, and I don't care for it. Let's share what we want (and are able) to share, and accept that if we don't, that doesn't mean we're shit developers. πŸ’™ []

πŸ™‡πŸ»β€β™‚οΈ Introducing checksync

Photo by Clint Adair on Unsplash

Have you ever written code in more than one place that needs to stay in sync? Perhaps there is a tool in your framework of choice that can generate multiple files from a single source of truth, like T4 templates in the .NET world; perhaps not. Even if there is such a tool, it adds a layer of complexity that is not necessarily easy to grok. If you look at the output files or the template itself, it may not be clear what files are affected or related.

At Khan Academy, we have a linter, written in Python, that is executed whenever we create a new diff for review. It runs across a subset of our files and looks for blocks of text that are marked up with a custom comment format that identifies those blocks as being synchronized with other target blocks. Included in that markup is a checksum of the target block content such that if the target changes, we will get an error from the linter. This is our signal to check if further changes are need and then update the checksums that are invalidated. The only bugbear folks seem to have is that instead of offering an option to auto-fix checksums in need of update, it outputs a perl script that has to be copied and run for that purpose.

Small bugbear aside, this tool is fantastic. It enables us to link code blocks that need to be synchronized and catches when we change them with reasonably low overhead. Though I believe it is hugely useful, it is sadly custom to our codebase. I have long wanted to address that and create an open source version for everyone to use. checksync is that open source version.

πŸ€” The Requirements

Before writing checksync, I started out with the following requirements:

  • It should work with existing marked up code in the Khan Academy codebase; specifically,
    1. File paths are relative to the project root directory
    2. Checksums are calculated using Adler-32
    3. Both // and # style comments are used to comment the markup tags
    4. Start tag format is:
      sync-start:<ID> <CHECKSUM> <TARGET_FILE_PATH>
    5. End tag format is:
      sync-end:<ID>
    6. Multiple start tags can exist for the same tag ID but with different target files
    7. Sync tags are not included in the checksum'd content
    8. An extra line of blank content is included in the checksum'd content (due to a holdover from an earlier implementation)
    9. .gitignore files should be ignored
    10. Additional files can be ignored
  • It should be comparably performant to the existing linter
    • The linter ran over the entire Khan Academy website codebase in less than 15 seconds
  • It should auto-update invalid checksums if asked to do so
  • It should output file paths such that editors like Visual Studio Code can open them on the correct line
  • It should support more comment styles
  • It should generally support any text file
  • It should run on Node 8 and above
    • Some of our projects are still using Node 8 and I wanted to support those uses

With these requirements in mind, I implemented checksync (and ancesdir, which I ended up needing to ensure project root-relative file paths). By making it compatible with the existing Khan Academy linter, I could leverage the existing Khan Academy codebase to help measure performance and verify that things worked correctly. After a few changes to address various bugs and performance issues, it is still mildly slower than the Python equivalent, but the added features it provides more than make up for that (especially the fact that it is available to folks outside of our organization).

πŸŽ‰ Check It Out

checksync includes a --help option to get information on usage. I have included the output below to give an overview of usage and the options available to customize how checksync runs.

checksync --help
checksync βœ… πŸ”—

Checksync uses tags in your files to identify blocks that need to remain
synchronised. It works on any text file as long as it can find the tags.

Tag Format

Each tagged block is identified by one or more sync-start tags and a single
sync-end tag.

The sync-start tags take the form:

    <comment> sync-start:<marker_id> <?checksum> <target_file>

The sync-end tags take the form:

    <comment> sync-end:<marker_id>

Each marker_idcan have multiple sync-start tags, each with a different
target file, but there must be only one corresponding sync-endtag.

Where:

    <comment>       is one of the comment tokens provided by the --comment
                    argument

    <marker_id>     is the unique identifier for this marker

    <checksum>      is the expected checksum of the corresponding block in
                    the target file

    <target_file>   is the path from your package root to the target file
                    with a corresponding sync block with the same marker_id

Usage

checksync <arguments> <include_globs>

Where:

    <arguments>       are the arguments you provide (see below)

    <include_globs>   are glob patterns for identifying files to check

Arguments

    --comments,-c      A string containing comma-separated tokens that
                       indicate the start of lines where tags appear.
                       Defaults to "//,#".

    --dry-run,-n       Ignored unless supplied with --update-tags.

    --help,-h          Outputs this help text.

    --ignore,-i        A string containing comma-separated globs that identify
                       files that should not be checked.

    --ignore-files     A comma-separated list of .gitignore-like files that
                       provide path patterns to be ignored. These will be
                       combined with the --ignore globs.
                       Ignored if --no-ignore-file is present.
                       Defaults to .gitignore.

    --no-ignore-file   When true, does not use any ignore file. This is
                       useful when the default value for --ignore-file is not
                       wanted.

    --root-marker,-m   By default, the root directory (used to generate
                       interpret and generate target paths for sync-start
                       tags) for your project is determined by the nearest
                       ancestor directory to the processed files that
                       contains a package.json file. If you want to
                       use a different file or directory to identify your
                       root directory, specify that using this argument.
                       For example, --root-marker .gitignore would mean
                       the first ancestor directory containing a
                       .gitignore file.

    --update-tags,-u   Updates tags with incorrect target checksums. This
                       modifies files in place; run with --dry-run to see what
                       files will change without modifying them.

    --verbose          More details will be added to the output when this
                       option is provided. This is useful when determining if
                       provided glob patterns are applying as expected, for
                       example.

And here is a simple example (taken from the checksync code repository) of running checksync against a directory with two files, using the defaults. The two files are given below to show how they are marked up for use with checksync. In this example, the checksums do not match the tagged content (though you are not expected to know that just by looking at the files – that's what checksync is for).

// This is a a javascript (or similar language) file

// sync-start:update_me 45678 __examples__/checksums_need_updating/b.py
const someCode = "does a thing";
console.log(someCode);
// sync-end:update_me
# Test file in Python style

# sync-start:update_me 4567 __examples__/checksums_need_updating/a.js
code = 1
# sync-end:update_me
Example output showing mismatched checksums

Additional examples that demonstrate various synchronization conditions and error cases can be found in the checksync code repository. To give checksync a try for yourself:

I hope you find this tool useful, and if you do or you have any questions, please do comment on this blog.

Video Playback Rate Hackery

Photo by Noom Peerapong on Unsplash

Some video sites, like YouTube, provide a way to change the playback speed of the video. This allows you to watch content faster or slower than the standard speed. It is an incredibly useful feature for many people and until earlier this year, I thought it was ubiquitous. I am so used to using it that when I wanted to watch a video and it was not available, I got quite frustrated1.

Thankfully, a colleague showed me that all is not lost and I want to share the magic with you.

Above is the video I wanted to watch (source). It is an interesting video packed with useful information about testing, but it is quite long. I really wanted to watch it, but I did not have a lot of time available, so decided to watch it at a faster speed. However, I could not find a way to adapt the playback speed within the site's user experience. What to do?

In swoops my colleague, via Slack, to remind me that I have browser developer tools at my finger tips, primed to let me make it happen anyway. You can make this happen on the Vimeo site, the TestDouble site, or even here, on my blog.

In the world of HTML5, videos are embedded in pages using the video element. The video element implements the HTMLMediaElement interface (as does the audio element) and if you can get a reference to the video element in JavaScript, you can use this interface to manipulate the video playback.

The first step is getting the element. I did this in Google Chrome, but you should be able to do this in other browsers too, though the commands may be different. I right-clicked on the video and selected Inspect.

Screen grab of the right-click menu, showing the commands "View Page Source", "View Frame Source", "Reload Frame" and "Inspect"

This should open the developer tools, with a node highlighted.

A snippet of HTML as shown in the Chrome Dev Tools. Some items are collapsed, hiding the child HTML. One node is highlighted.

As seen in the screenshot above, the highlighted node was not the video element. Initially, I looked at the sibling elements and expanded likely candidates until I found the video tag I wanted, but there is an easier way. Use the Find command within the Elements tab of the Chrome developer tools by pressing ⌘+F (probably Ctrl+F on Windows).

A screengrab of the find bar in the Elements tab of the Google Chrome developer tools. The text "<video" has been entered and "1 match" is indicated as found.

Within the find bar, you can type <video and it will find the first video element in the page and, if there are more, allow you to cycle through any others until you get to the one you want. You can even tell if it is the one you want or not as both the node and the corresponding video are highlighted as seen in the screenshot below.

Screenshot showing the highlighted node found in the DOM via the Chrome developer tools on the right and the corresponding video highlighted in the page itself on the left.

With the video element found, we can right click the DOM node in the developer tools and select Store as global variable.

Screen grab showing the found "video" element and the right-click menu with the "Store as global variable" option highlighted.

This creates a global variable that we can use to manipulate the element. The console section is opened to show us the created variable and the element to which it refers.

The console of the Chrome developer tools showing the name of the global variable we created "temp1", and the video element it refers to.

Now we can use the variable (temp1 in this case) to adjust the playback rate (or anything else we wanted to do). For example, if we want to run at double speed, just change playbackRate to 2 by entering temp1.playbackRate = 2.

Screenshot of the text "temp1.playbackRate = 2" having been entered in the developer tools console and the result "2" being returned to confirm that value is set.

And that's it. Hit play on that video and it will now be running at twice normal speed. Want it to run at half speed instead? Set playbackRate to 0.5 instead. Want it to run at normal speed again? Just set playbackRate to 1.

I hope y'all find this as helpful as I have and next time you stumble because a common feature appears to be lacking, don't be afraid to crack open those developer tools and see what magical hackery you can perform.

  1. "quite" is British for "inconsolably" []

C#7: Tools

I have spent the first couple of months of 2017 learning about the new features in C#7. This would not have been possible without some tools to help me play around with the new language syntax and associated types. Since we have to wait a little longer until Visual Studio 2017 is released, I thought you might like to know what tools I have been using to tinker in all things C#7.

LINQPad Beta

Link: http://www.linqpad.net/Download.aspx#beta

While early releases of Visual Studio 2017 (scheduled for release on March 7th) support the language, I initially found the release candidate to be unstable and frustrating. Not only that, but it can be cumbersome to spin up a quick example using Visual Studio, so I turned to my trusty friend, LINQPad.

LINQPad Beta showing me my return is missing a ref

I cannot recommend LINQPad enough, it is a fantastic tool for prototyping, poking around data sources, and more besides, like tinkering with language features you don't yet understand. While LINQPad's current release only supports the C# language up to version 61, the beta release also supports C# version 7. Not only can you use the language, but with the fantastic analysis window, you can see how Roslyn breaks down each part of the code. If you want to get started quickly, easily play around with the cool new features, and have a powerful tool for digging deeper as the need arises, the LINQPad beta is the tool to get.

Visual Studio 2017 RC

Link: https://www.visualstudio.com/downloads/

Visual Studio 2017 RC splash

Yes, I know I said it was unstable and frustrating, but that was before, way back in January. These days the RC is much, much better and with the release date set for March 7th, there was never a better time to install Visual Studio 2017 RC and get a head start on getting to know some of the new things it can do, including C# 7. Tuples are fun, but poking around with them in the debugger is funner.

OzCode

Link: https://oz-code.com/

Pattern matching in OzCode

It is no secret that I love OzCode, the magical debugging extension for Visual Studio. It is so well-known that they asked me to be part of their OzCode Magician community program. So, it should come as no surprise that I have been using OzCode in my exploration of C#7. As the Visual Studio 2017 RC has matured, the clever people over at CodeValue have been creating previews of OzCode version 3, including amazing LINQ debugging support. Recently, I got to try an internal build thatΒ included support for all the cool new things in C#7.

OzCode 3 will be released on March 7th, the same day as Visual Studio 2017.

Documentation

Link: https://docs.microsoft.com/dotnet/articles/csharp/csharp-7

Never underestimate the power of reading documentation, it is one of the best tools out there. For my C#7 posts, I relied heavily on the new docs.microsoft.com site, specifically the .NET articles on C#. Not only is this a fantastic resource, but it has built-in support for commenting on the documentation so that you can ask questions and contribute to their improvement.

In Conclusion

This is the entire list of tools I used for my C#7 investigations. Try them out and get an early start on C#7 fun before the March 7th release of all the C#7 goodness. Happy tinkering and if you stumble on any useful tools, please share in the comments!

  1. It also supports SQL, F#, and VB []

Caching with LINQPad.Extensions.Cache

One of the tools that I absolutely adore during my day-to-day development is LINQPad . If you are not familiar with this tool and you are a .NET developer, you should go to www.linqpad.netΒ right now and install it. TheΒ basic version is free and feature-packed, though I recommend upgrading to the professional version. Not only is it inexpensive, but it alsoΒ addsΒ some great features like Intellisense1 and Nuget package support.

I generally use LINQPad as a simple coding environment for poking around my data sources, crafting quick coding experiments, and debugging. Because LINQPad does not have the overhead of a solution or project, like a development-oriented tool such as Visual Studio, it is easy to get stuck into a task. I no longer write throwaway console orΒ WinForms apps; instead I just throwΒ together a quick LinqPad query. I could continue on the virtues of this tool2, but I would like to touch on one of its utility features.

As part of LINQPad , you get someΒ useful methods and types for extending LINQPad , dumping information to LINQPad's output window, and more. TwoΒ of these methods areΒ LINQPad.Extensions.CacheΒ and Utils.Cache. UsingΒ eitherΒ CacheΒ method, you can execute some code and cache the result locally, then use the cached value for all subsequent runs of that query. This is incredibly useful for caching the results of an expensive database query or computationally-intensive calculation. To cache an IEnumerable<T>Β Β or IObservable<T>Β Β you can do something like this:

var thingThatTakesALongTime = from x in myDB.Thingymabobs
                              where x.Whatsit == "thingy"
                              select x;
var myThing = LINQPad.Extensions.Cache(thingThatTakesALongTime);

Or, since it's an extension method,

var myThing = thingThatTakesALongTime.Cache();

For other types, Util.CacheΒ Β will cache the result of an expression.

var x = Util.Cache(()=> { /* Something expensive */ });

The first time I run my LINQPad code, my lazily evaluated query or the expression is executed by the CacheΒ method and the result is cached. From then on, each subsequent run of the code uses the cached value.Β BothΒ CacheΒ methods also take an optional name for the cached item, in case you want to differentiate items that might otherwise be indistinguishable (such as caching a loop computation).

This is, as I alluded earlier, one of many utilities provided within LINQPad that make it a joy to use. What tools do you find invaluable? Do you already use LINQPad ? What makes it a must have tool for you? I would love to hear your responses in the comments.

Updated to correct casing of LINQPad, draw attention to Cache being an extension method for some uses, and adding note of Util.Cache3.

  1. including for imported data types from your data sources []
  2. such as its support for F#, C#, SQL, etc. or its built-in IL disassembly []
  3. because, apparently, I am not observant to this stuff the first time around. SMH []