Last year, my wife made a lasagne garden in the backyard and grew some delicious lasagne. No, not really, but she did grow some delicious vegetables.
This year, after a class on Square Foot Gardening we added an additional 4ft by 4ft bed using the Square Foot Gardening principles. The crop was phenomenal: squash (including ninja zucchinis1), beans, tomatoes (so many tomatoes), cucumbers and peppers.
Eager to build on her successes, Chrissy wanted another bed for us to grow even more delicious food. Having salvaged some 4×4 posts from our deck before it was destroyed to make way for our patio (post to come), I set to work.
Measuring and cutting
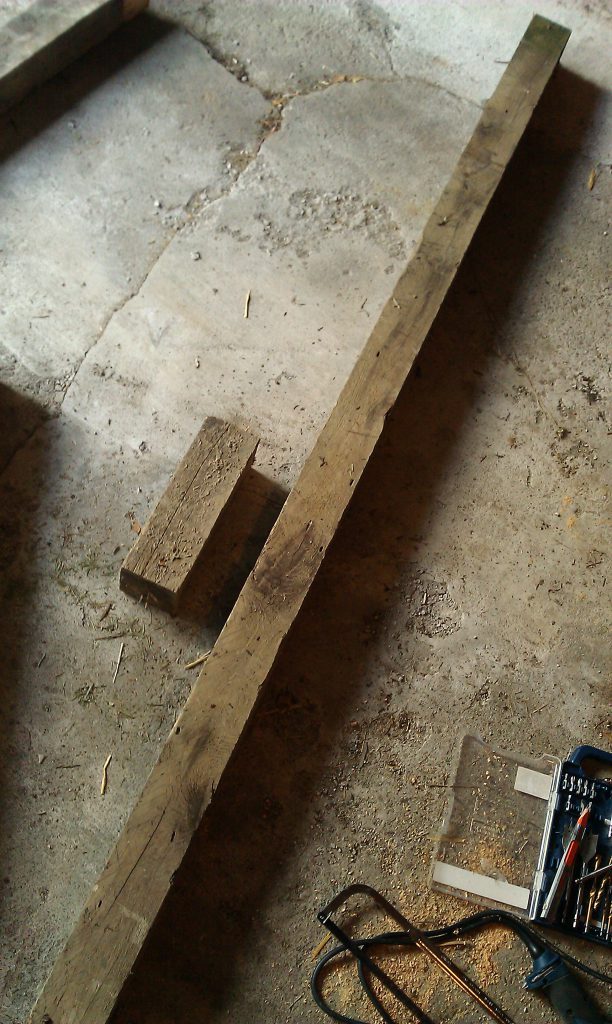
Our reclaimed deck posts were of varying lengths, so the first thing I did was measure them to determine just how big a bed we could make. Some quick calculations determined that given the shortest post available, our bed would be just under 4ft along the inside edge.
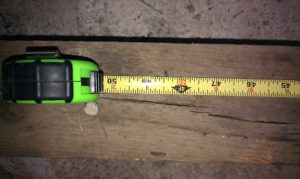
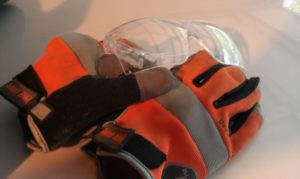
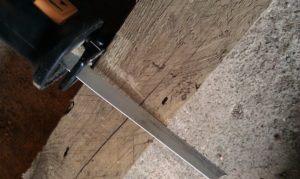
As the posts were used, there were some rough spots and quite a few nails left behind. I'm not one for doing more than is necessary so I left most of the nails where they were and just selected the best portion of the post to be used. I marked the correct length and then, with my safety goggles and gloves on, used my reciprocating saw to cut them accordingly.
Marking the Joints
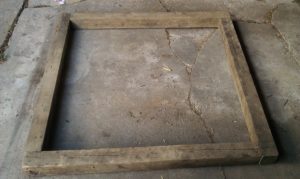
With the four sides of the bed cut, I arranged them on the garage floor and marked where the end of one post butted against the side of the next.
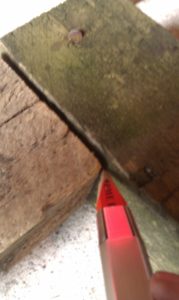
I then marked the outer post of the join to show where the screw holes should be drilled. First, I marked the top to show roughly where the screws should go to ensure a good alignment with the butting post.
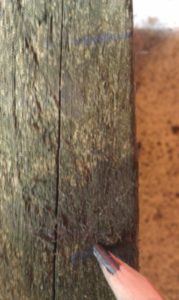
Then I turned the post on its side and marked the screw locations.
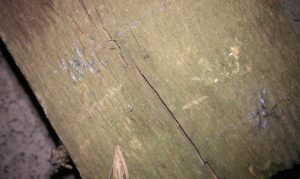
Construction
With all the posts cut to size and marked for assembly, it was time to drill holes for the screws. Because the posts were 4 inches across and my screws were only 4 inches themselves, I needed to drill into the post so that the screw would secure the bed together. For this, I used two bits. The first to countersink the screw, the other to ensure the screw could pass through the first post and into the second.
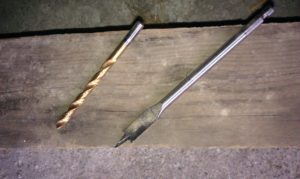
With my safety gear on, I took my trusty drill and set to work.
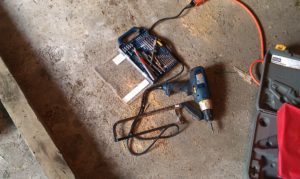
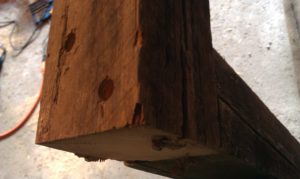
Once all eight holes were drilled, I used my drill and an appropriate driver to drive the screws into the joints and assemble the bed.
Ready for Next Year
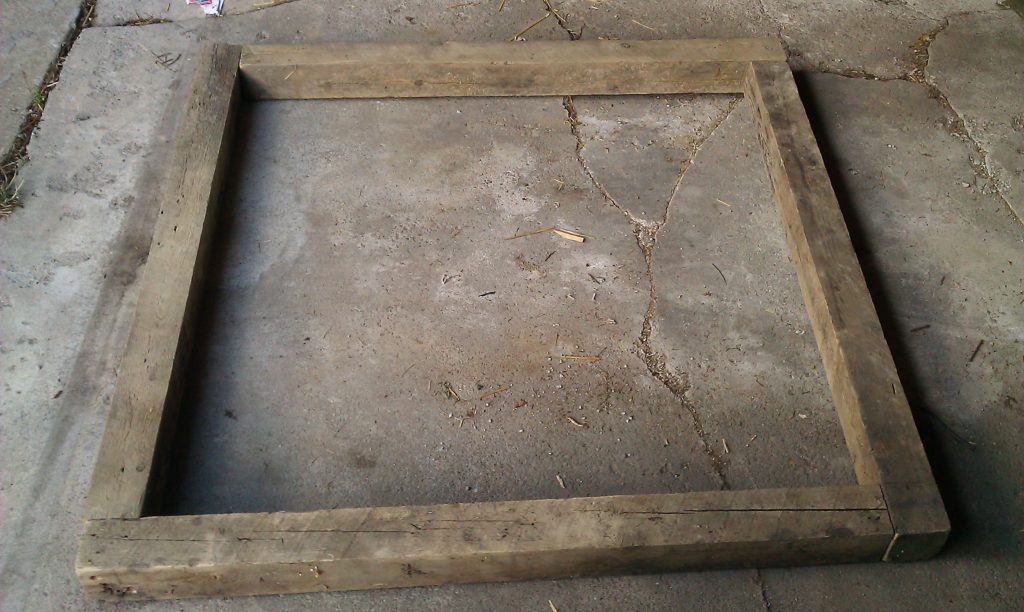
The newly created bed now sits resting against the garage wall in anticipation of 2013's growing season and my wife's grand plans.
- Ninja zucchinis (or courgettes, as my friends back home might know them) are zucchini squash that you didn't know you had planted. [↩]
