 Ever since we moved into our house, we've had grand plans for our office (originally, the third bedroom). The plan was to use it as a reading room but that just never panned out. We had painted it when we moved in, then populated it with bookcases from IKEA, which in turn were populated with our books and CDs, but that was about it. Though we had a little tiny desk in there with a computer, all we really did was use the room to store things or hide other things when guests came over.
Given that this space was not really adding value to our lives, this year we decided to make a concerted effort to get the office into a more pleasing state with a view to actually using it as an office. So, we measured things, sketched a plan on the whiteboard in the kitchen and penned a list of tasks, including items to purchase.
Step one was to move some of the bookcases, so I did (though perhaps not at the pace my wife would've preferred). Once the bookcases and their contents were moved to the appropriate location as per our sketch, we were ready for the next step: the new desk. If moving the bookcases had been too slow for the missus then getting a new desk had been going in reverse. However, eventually we decided to head out to IKEA for inspiration and see what we could find.
I admit I wasn't expecting to find anything appropriate but after looking at all the desks and tables we could find in IKEA, we settled on the VIKA AMON black desk. We were originally going to get both the drawers and the storage leg, but the drawers only appear to come in white (I don't get why), so a change of plan was required. After examining all the other legs available in the VIKA range and discovering most options were out of stock and not quite what we wanted, we settled on the wooden legs.
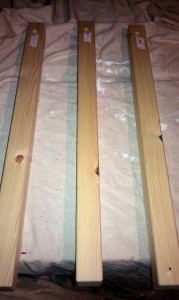
The only problem with the legs was their appearance, but unlike the white drawers, the plain wood made this a reasonably easy fix. The office furniture is black/brown, including the desk top we selected so a quick trip to Home Depot was required to get a matching wood stain. The stain I selected was a Classic Black Minwax Polyshades stain and polyurethane in one with a satin finish. I admit that I mostly guessed at what colour might match the existing IKEA furniture. I also admit that I'm lazy, hence the stain and polyurethane in one.
I forwent the application of conditioner to the wood as I was applying an extremely dark stain to the wood. Over two days, I applied two coats of stain to the legs. In hindsight, three coats may have been better but any thin patches on the legs are not easily noticeable, so they can be our little secret.

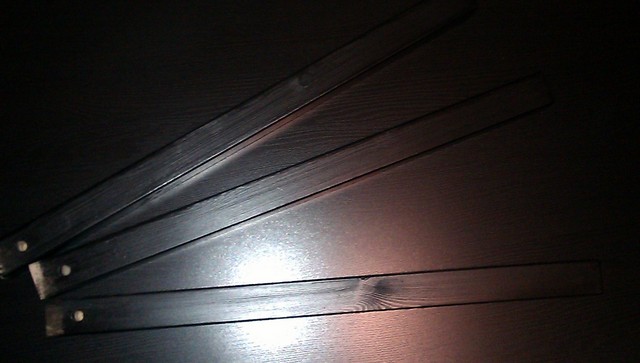
After two coats, the legs were barely distinguishable from the desk that they were to support.
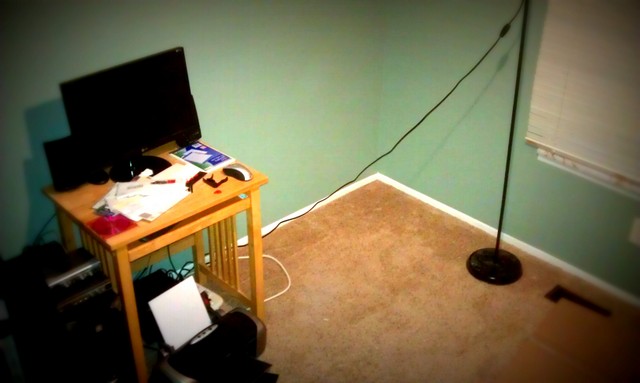
With the legs ready, it was time to clear some space in the office. So I dismantled the computer and moved everything out of the way to clear space for the new desk.
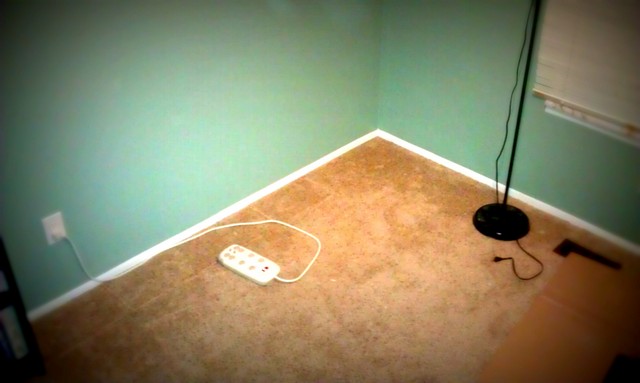
Some quick, effortless assembly later and the desk was all ready to install. The three legs attached to the desk as per the instructions provided with each leg. The remaining support was provided by the free-standing storage unit that we selected for housing our computer.
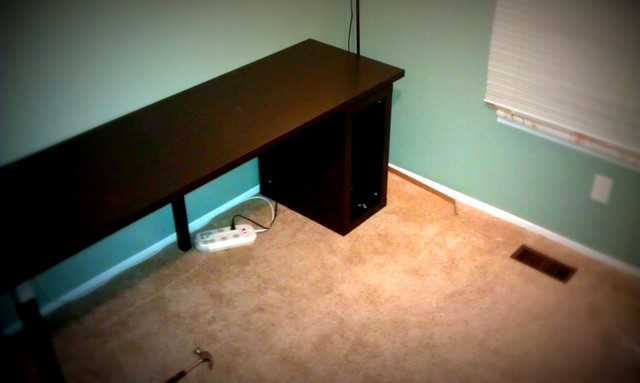
Once the desk was in place, it was clear we'd made a good choice as there was just enough room for the lamp in the corner. It was time to reassemble the computer and put it into place.
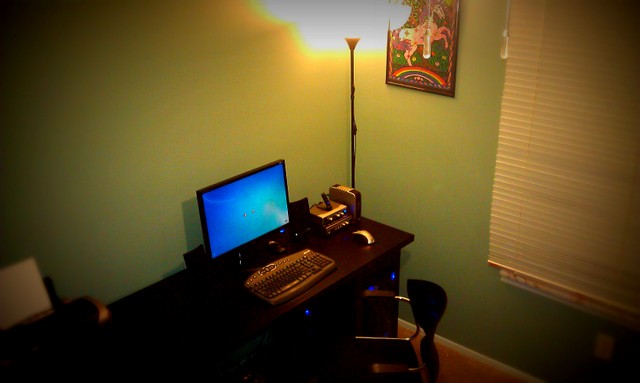
Proud of my efforts, I grabbed Chrissy to show her my handiwork. She was, of course, quick to point out that we still need to get lampshades and put our lamps on the new desk. Perhaps then, the office will finally be finished1.
- Just in time for us to turn it into a nursery? No, this is not an announcement. [↩]
