I may have mentioned this before, but we made our own rain barrel and I installed it on our new patio. However, there was one outstanding task to be done that I had been dragging me heels on.
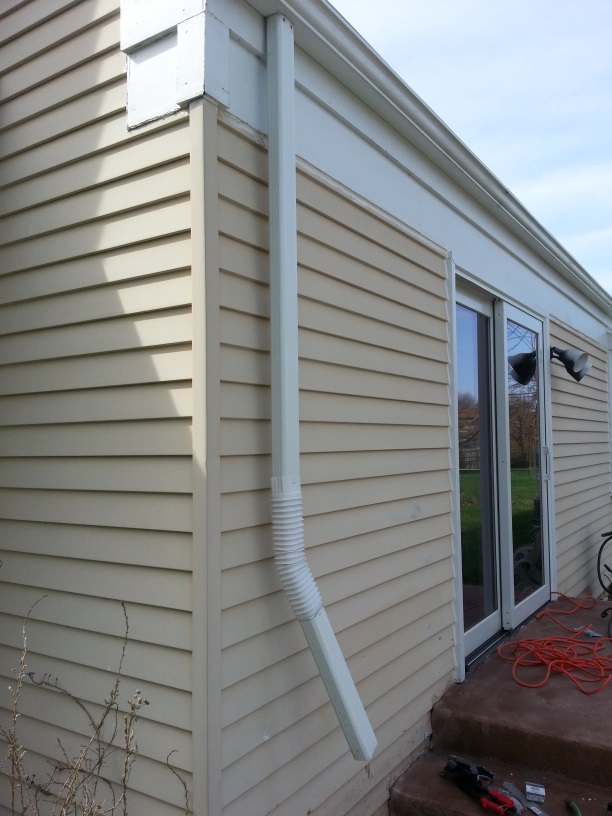
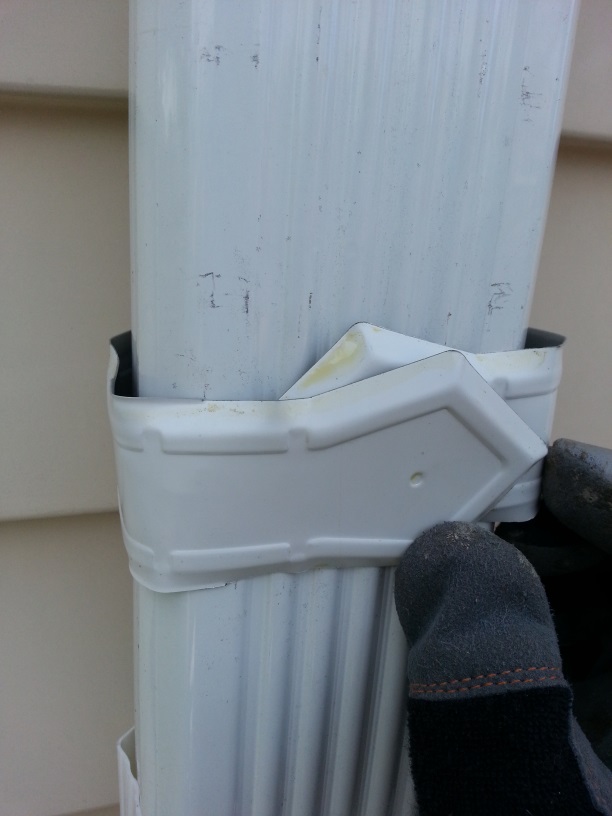
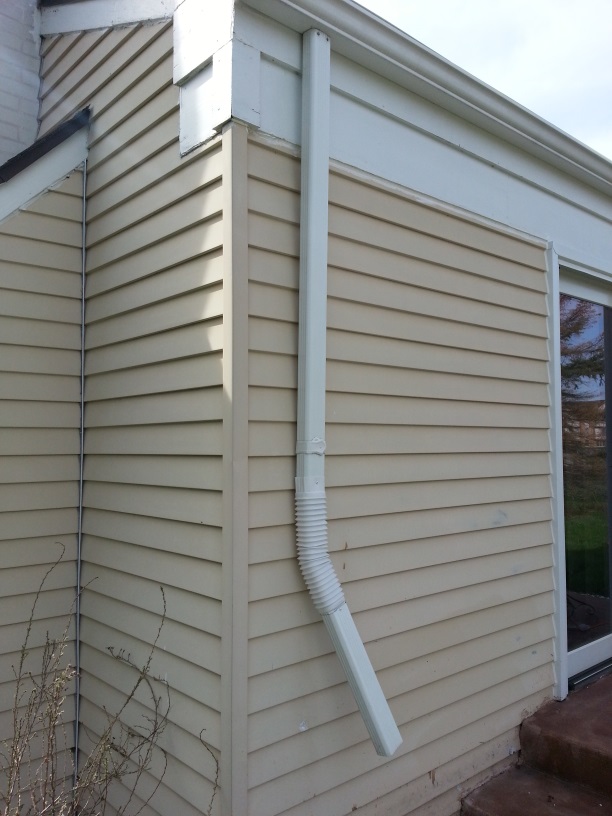
The downspout that my neighbour and I had modified to feed water to the rain barrel was not secured to the siding, allowing it to pivot at the gutter. When the rain barrel was present, there was not much movement in the downspout, but when the barrel was set aside over winter (as you can see in the photo above), the spout would move in just about every breeze that blew. So, I stopped procrastinating and tooled up to fix it in place.
Tools
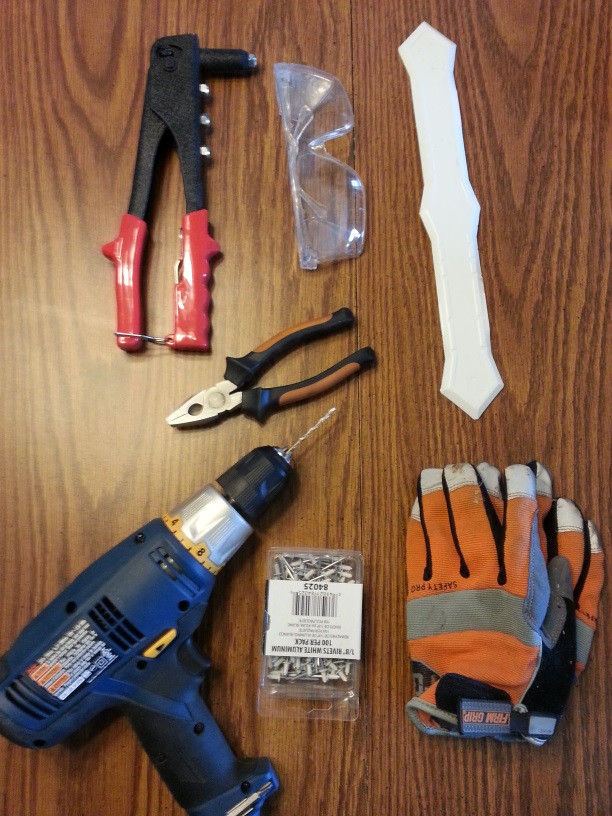
The tools and other items used for this project were (from top left, clockwise to center):
- A rivet gun
- Safety goggles
- Aluminium bracket1
- Safety gloves
- 1/8" aluminium rivets
- Drill with 1/8" bit
- Pliers
Using the Rivet Gun
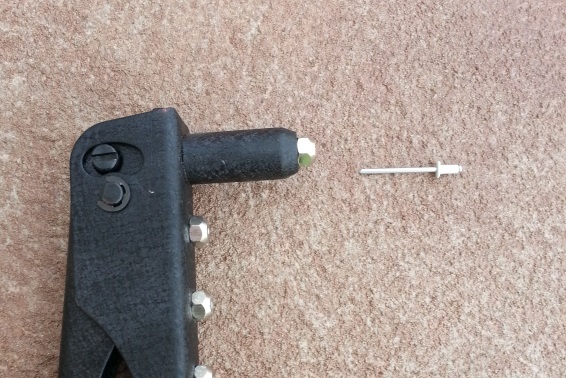
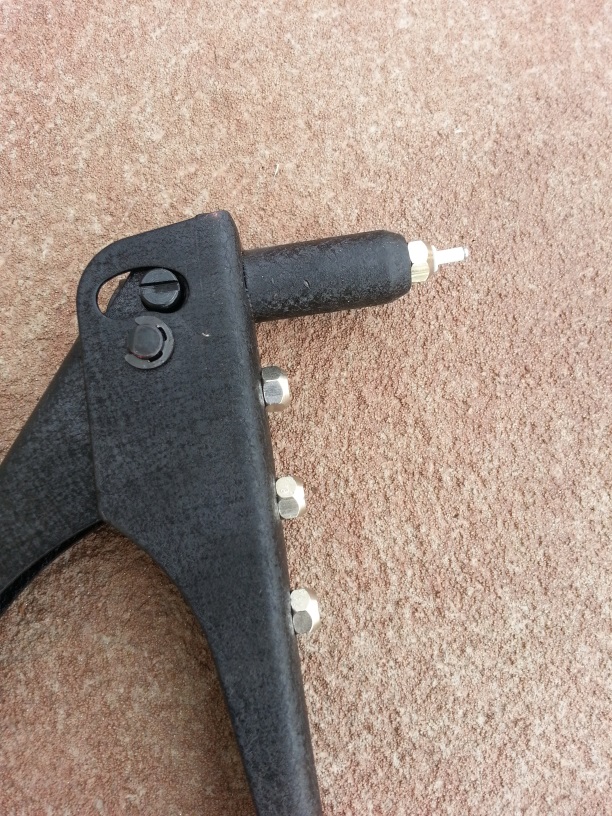
Rivet guns are kind of cool (at least I've always thought so). They allow things to be joined together from only one side, which means I don't have to get to the other side of my siding in order to rivet something to it. A rivet gun works by gripping the pin of the rivet and pulling it, causing the other end to bulge out, which holds the rivet in place. When it can't bulge anymore, the pin snaps off.

The Work
My intention was to match the existing approach used on the other downspouts, which was to attach the bracket to the house and then bend it around the downspout and rivet it. However, the existing brackets were all nailed to the house through the siding. I did not have nails to hand for this, so I decided to rivet the bracket to the siding.
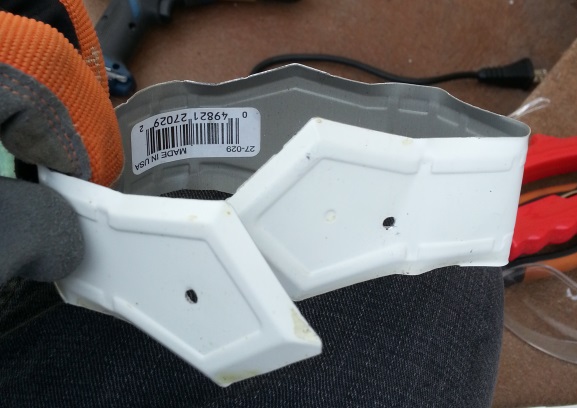
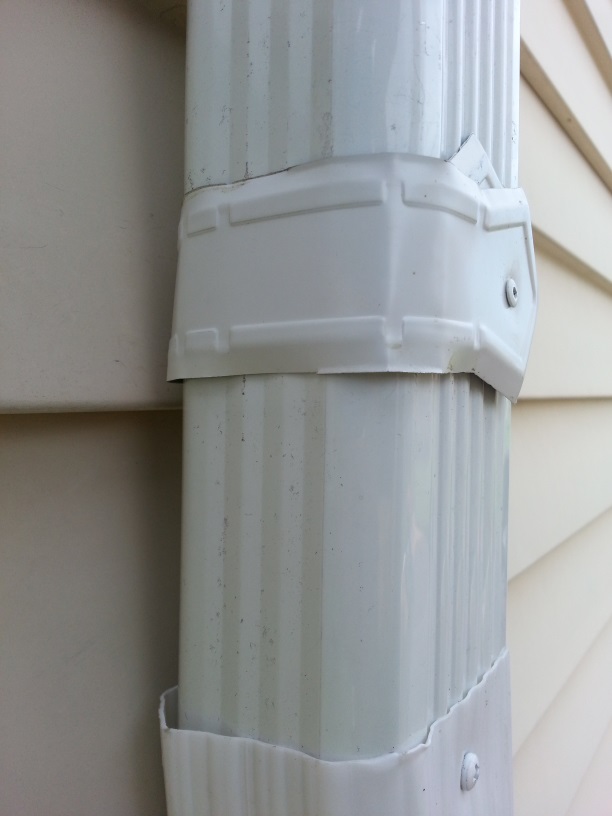
First, I bent the bracket around the downspout. From what I know, this is not the traditional way to bend these brackets (usually, they are splayed out so the decorative arrows are flush to the siding), but I wanted everything to match up. Once the bracket was bent to fit the downspout, I drilled holes in each end where I would eventually rivet them together.
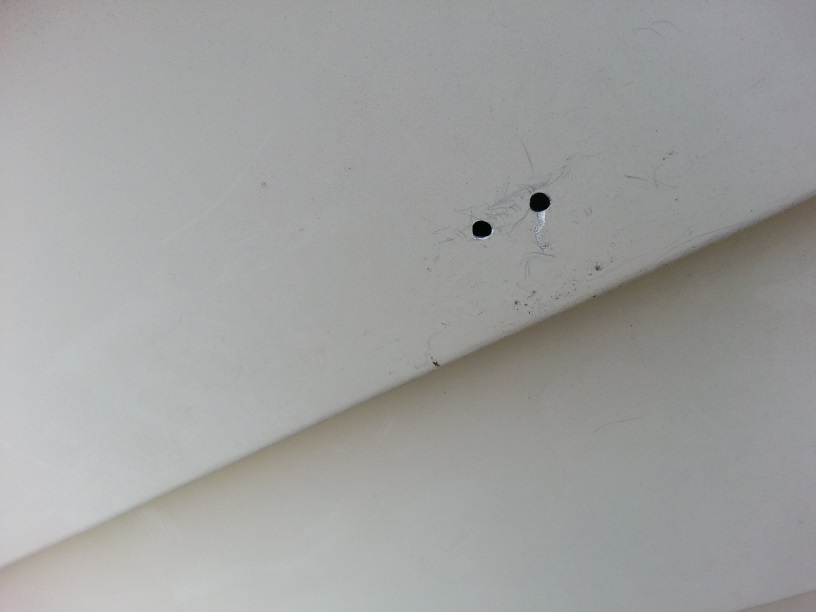
Before I could rivet the bracket around the downspout, it needed to be mounted to the siding, so I drilled two holes in the bracket and siding for rivets and used the rivet gun to secure the bracket in place.
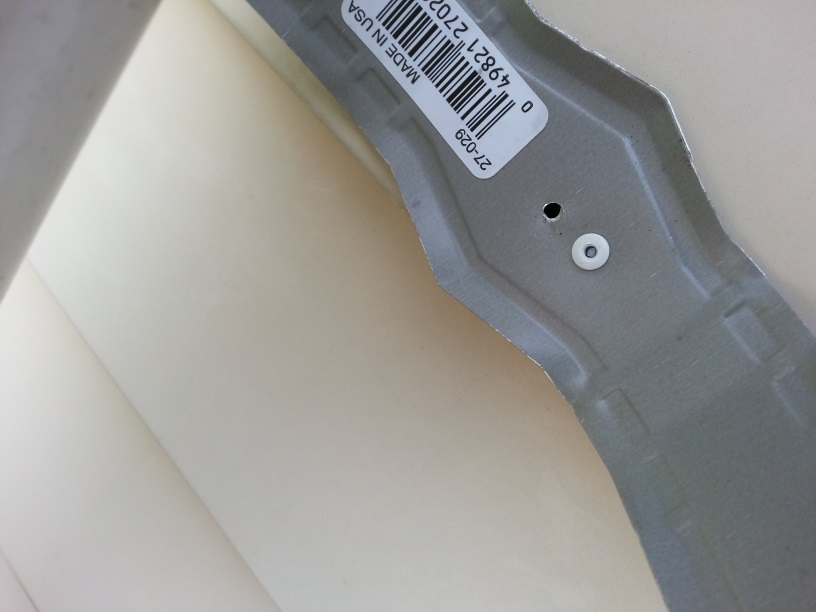
Then I folded the bracket around the downspout and secured it with one more rivet.
- Yes, I know it's aluminum in 'murka. [↩]


I'd just like to say that the title of this post sounds like a euphemism and I chuckle a little every time I see it in the sidebar.
Achievement earned.